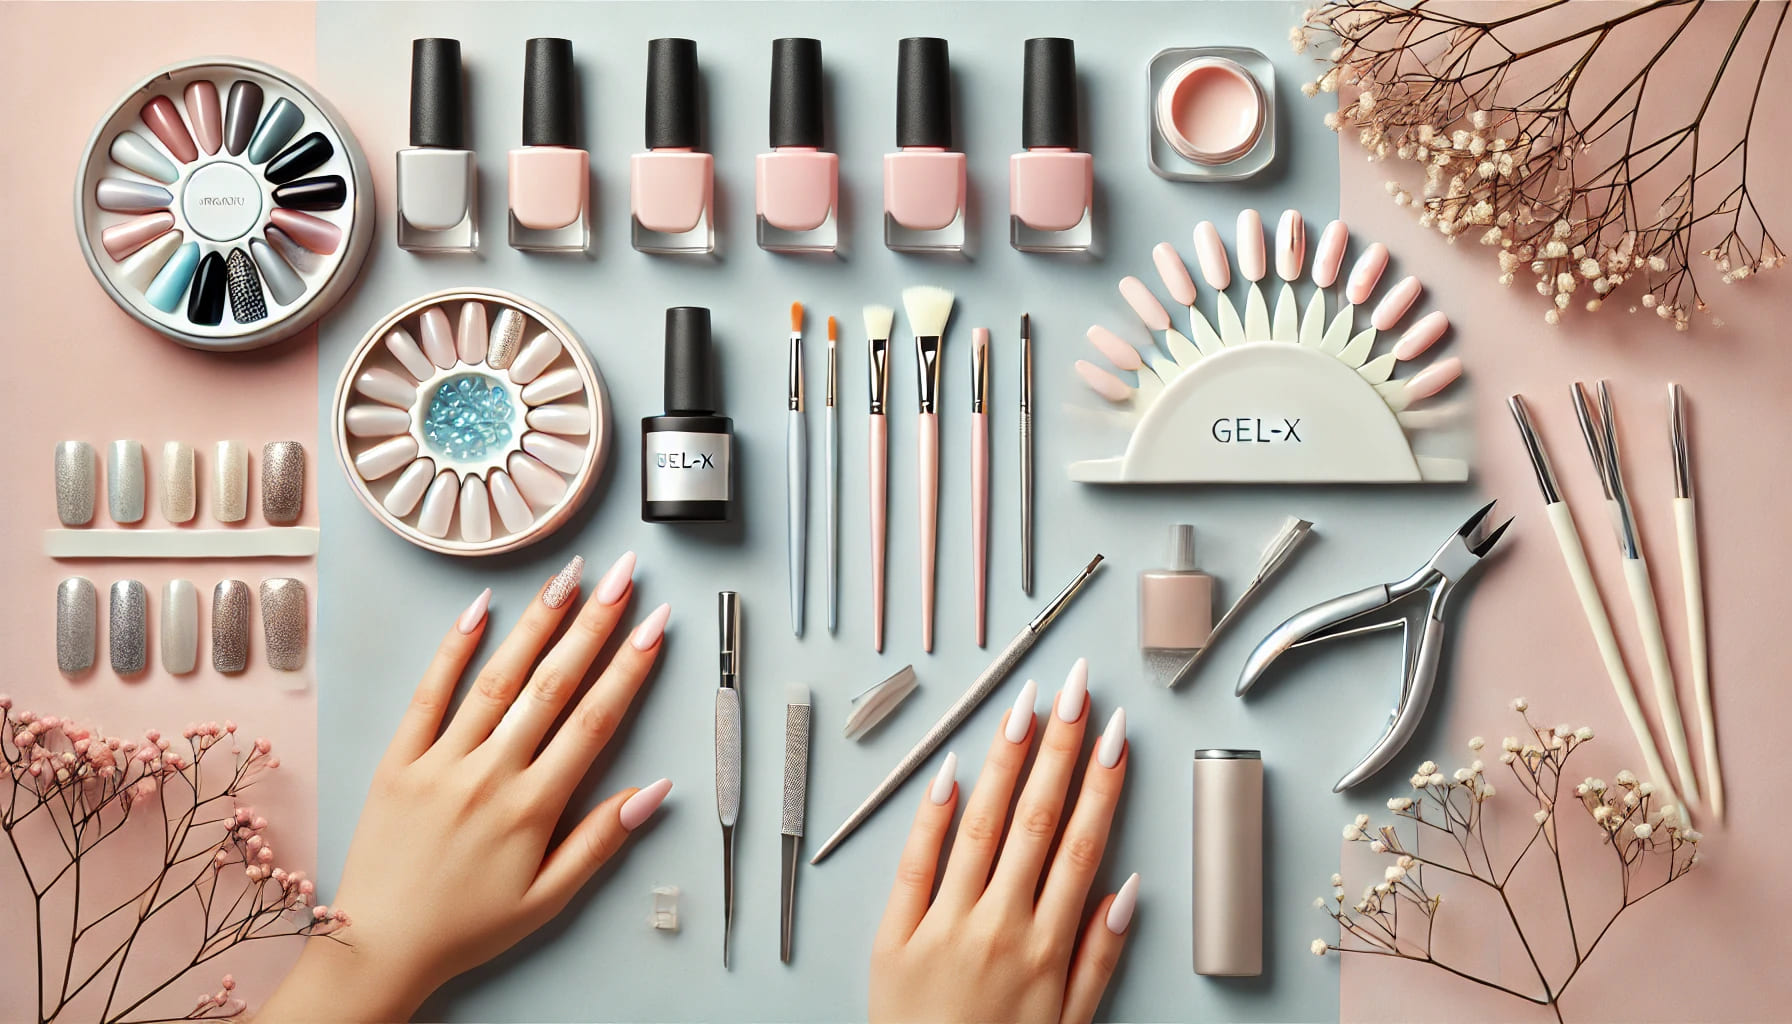

If your Gel X nails start lifting or popping off after a few days, don’t worry you’re not alone! Gel X extensions are known for their flawless, natural look, but getting them to stay put takes the right combination of prep, technique, and adhesive. Using a high-quality Gel X glue makes all the difference in how long your extensions stay flawless.
Whether you’re a professional nail tech or a DIY nail lover, these 20 expert tips will help your Gel X nails last longer, look smoother, and feel stronger.
Start with clean nails – Wash your hands and use alcohol wipes to remove every trace of oil, dust, or residue. Even a tiny bit of moisture can weaken your adhesive bond.
Buff gently – Use a fine-grit buffer to lightly roughen the surface of your natural nail. This gives the adhesive a better surface to grip onto.
Apply nail dehydrator – A dehydrator helps remove hidden oils that could interfere with bonding.
Use primer – Primers act as double-sided tape between your nail and the adhesive, ensuring stronger hold.
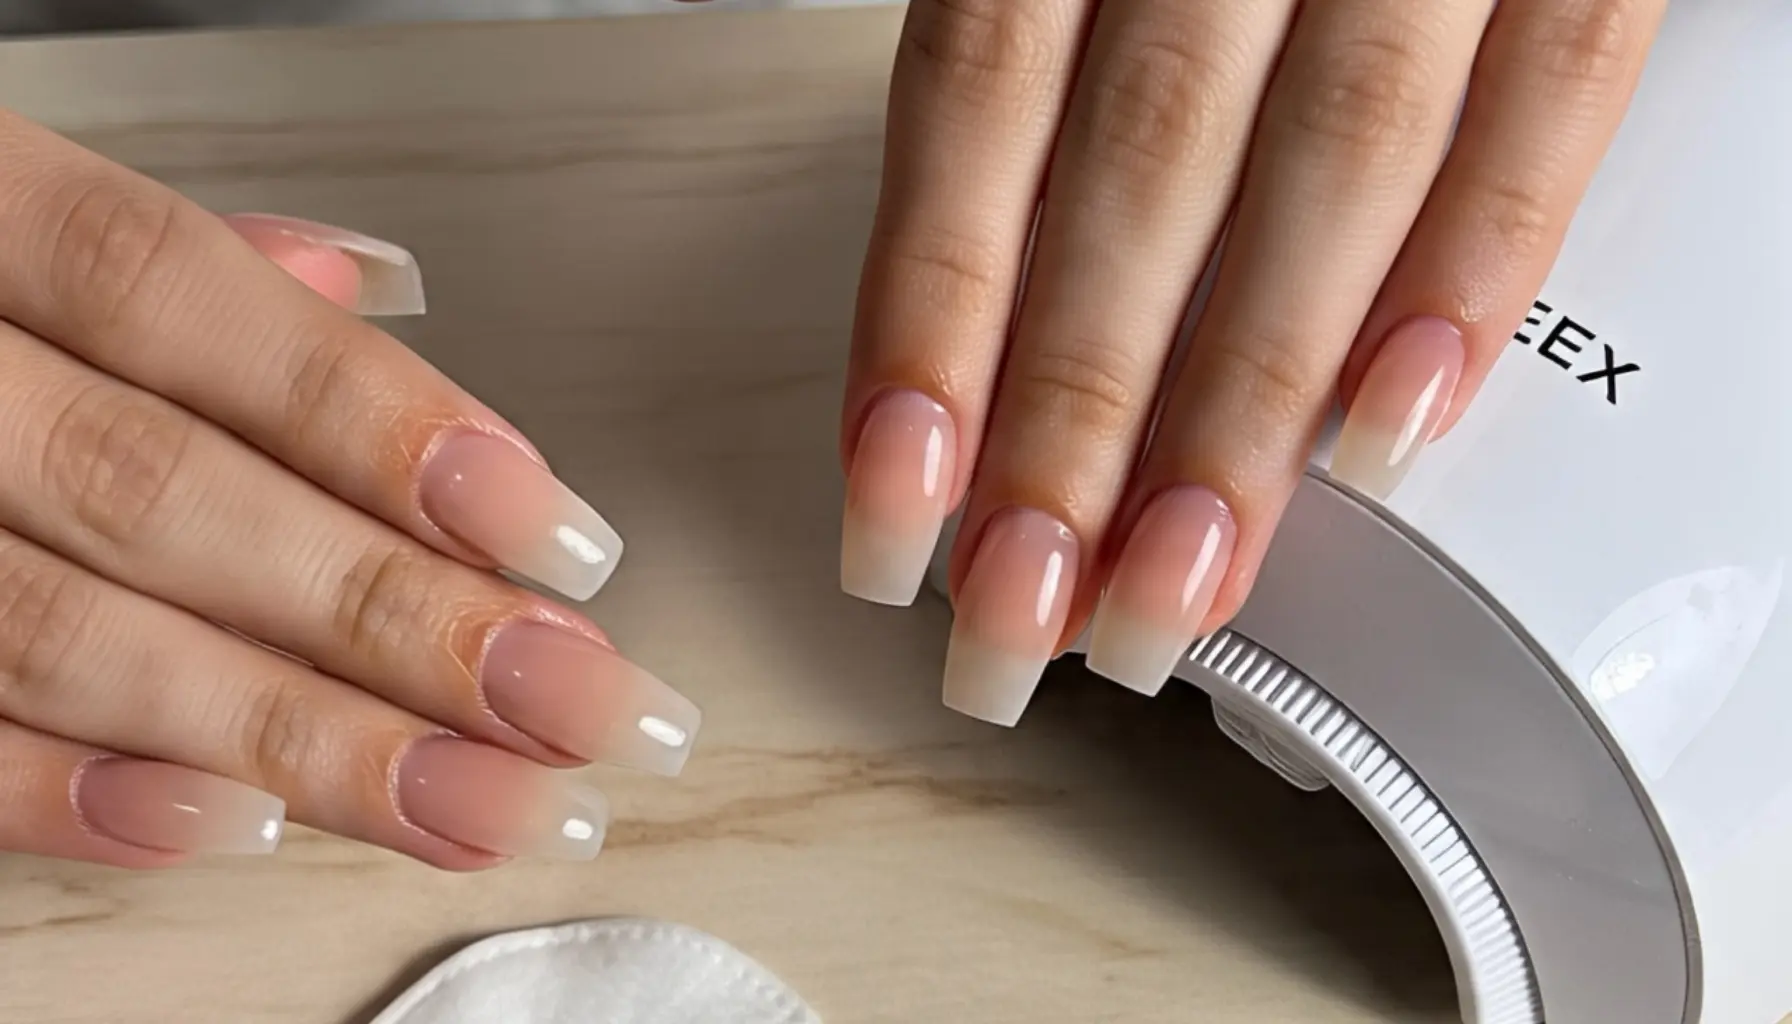
Select the correct tip size – If the tip is too narrow or too wide, it won’t seal properly, leading to early lifting.
6–10. Adhesive Application Secrets for Long Wear
Choose a professional-grade adhesive – The formula matters. A Professional Nail Adhesive designed for Gel X nails provides long-lasting strength without brittleness.
Use the right amount of glue – A thin, even layer prevents air pockets and promotes better curing. Too much can make the bond weak.
Apply adhesive from cuticle to tip – Press and hold firmly for 10–15 seconds to eliminate bubbles before curing.
Cure properly under a UV/LED lamp – Follow your adhesive’s curing instructions. Under-curing or over-curing can both reduce wear time.
Store adhesive correctly – Keep your glue upright, tightly sealed, and away from heat or light to prevent thickening or drying out.
Need help choosing the right formula? Explore our Best Gel X Nail Glue comparison guide.
Avoid over-filing – Too much filing weakens your natural nails and reduces adhesive performance.
Seal every edge – When applying top coat, always cap the free edge to lock out moisture and prevent lifting.
Keep layers thin – Thin coats of gel are stronger and cure more evenly, reducing the risk of peeling.
Mind your curing environment – Low temperatures can slow down the curing process. Work in a warm, stable space for best results.
Use cuticle oil wisely – Apply cuticle oil regularly, but avoid getting it near the adhesive bond area to prevent lifting.
For more post-application care tips, read How to Make Gel X Nails Last Longer.
Apres Gel X Tips – The original soft gel system that delivers salon-level durability and natural look.
Kiara Sky Gelly Tips – Known for their pre-etched surfaces that help adhesive grip better.
Beetles Soft Gel Tips – Affordable, beginner-friendly, and flexible for comfort.
Gelish Soft Gel System – Offers premium structure and strong bonding when paired with professional adhesives.
Makartt Gel Extension Tips – Loved for their shape and flexibility, ensuring less lifting over time.
FAQs
With the right prep and adhesive, Gel X nails can last 3–4 weeks without major lifting.
Q2: Why are my Gel X nails lifting early?
Oily nail beds, improper prep, or low-quality glue are the usual culprits. Using a professional-grade adhesive can fix that — check our [Professional Nail Adhesive] page for details.
Q3: Can I reuse Gel X tips?
It’s not recommended. They’re designed for single use to maintain proper structure and hygiene.
Making your Gel X nails last isn’t about luck — it’s about precision, patience, and the right products. When you take time to prep your nails properly, use the correct adhesive, and follow up with good aftercare, your Gel X extensions can stay flawless for weeks.
If you’re ready to upgrade your application, check our Best Gel X Nail Glue roundup to see which formulas professionals trust most.
Tips, trends, and nail care guides for perfect Gel X nails
Don’t miss our future updates! Get Subscribed Today!
© [2025] Gel X Nails. All Rights Reserved